Whether homeschooling or just exploring the natural world with curious children, a microscope is a fantastic way to get an up-close and personal look at things under a microscope. If you need help choosing a microscope, look at our handy guide to the best microscopes for kids. But what should you be checking out? The answer is – almost anything goes! Keep reading for suggestions of a few cool ideas to get you started, as well as advice on how to prepare your samples for viewing!

Prepared Slides or Blank Slides?
When looking at objects under a microscope, you can go in two basic directions. You can buy a selection of prepared slides that are already mounted and labeled, or you can purchase blank slides and make your own based on what your children are interested in observing. There are pros and cons to each approach, which we’ll briefly go over.
Prepared Slides
Prepared slides often come in a boxed set with a wide variety of different objects to view. They are frequently used as learning tools in a classroom or homeschool environment because they require very little time to prepare – you can pretty much just choose a slide from the box, put it under your microscope, and get to work. If you’re short on time, or you’d like your child to be able to view objects under a microscope independently without needing help from an adult, prepared slides might be the way to go.
A good set of prepared slides will include a variety of specimens that are well labeled, so you are always clear about what you are looking at and make it easy to introduce children to the microscopic world. However, a drawback to using them is that you’re limited to the specimens that come with your purchased kit.
While this will likely be a wide range of specimens, creative children will surely come up with innovative ideas for items that aren’t included (“Mom, can I look at my boogers under the microscope?”). For this type of microscope, you may want to check out blank slides you can prepare yourself.

Blank Slides
When talking about blank microscope slides, there are two main types you might find. Both are typically the same size and measure approximately 1” x 3”. The first, commonly called a ‘depression slip’, has a small indentation, or depression, in the middle that will hold both your specimen and a drop of water.
The other type, the glass slide, does not have an indentation and must be used with a cover slip. A cover slip is a thin piece of plastic or glass placed on top of the specimen when examining it under the microscope, helping to keep the specimen from moving around and allowing the user to focus more clearly. The cover slip can be very delicate and should be handled carefully.
To prepare a slide, you’ll need a blank slide, your specimen, a pipette, or a medicine dropper, and it’s also handy to have a pair of tweezers. Two types of mounts are most commonly used – dry mount and wet mount. A dry mount is the easiest to prepare – all you need to do is place the specimen on the slide and cover it with the cover slip. This type of mount is good to use with samples such as hair or feathers. These will be best viewed with a wet mount for more complex samples.
A wet mount is the most common way to prepare slides for your microscope. To prepare a wet mount slide, take your pipette or medicine dropper and place one or two drops of water or a solution such as glycerin or methylene blue in the middle of the slide. Then you will place your specimen in the middle of the water droplets. This will make it more visible under the microscope.

For live specimens, such as microscopic bugs, the water will allow the observer to view the specimen’s movement. After placing your specimen, you can add another drop of water to ensure that it is fully covered with liquid and to reduce the risk of an air bubble forming under your cover slip. Add the coverslip gently. A bit of liquid might need to be removed from around the edges of the slide, so it’s also a good idea to keep some paper towels or tissue paper handy.
Wet mounts are very common, but it’s easy to see how preparing slides like this can go wrong – especially when kids are involved! Preparing these slides can take more time and require more careful supervision than slides that are already prepared. They’re also only a temporary mount, so if you find a cool specimen, you will not be able to save it for later observation. They can, however, make the experience of using a microscope much more interactive and make kids feel more involved in the process, especially if they did some exploring and collected the specimens themselves.
Why Not Both?
If you can, it might be good to purchase a set of prepared slides with several blanks. This way, you can have the experience of preparing your own slides when an adult is available to supervise closely, and kids will have prepared slides that they can use for more independent exploration. You can find prepared slides at academic supply stores or packages like these combined ready, and you can easily find blank slides on Amazon.

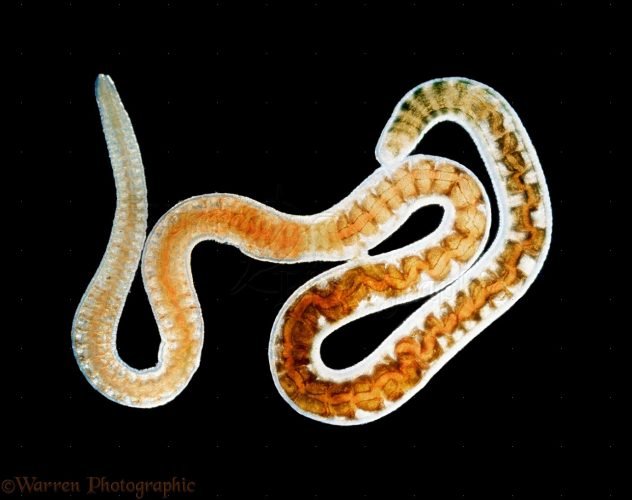
List of Things Under a Microscope
So what should you put on your slides to look at under the microscope? Almost any small object will fascinate kids with an up-close look, but here are a few ideas to get you started!