Learning how to use a telescope is just as important as choosing one. In this guide, we take you through the steps of choosing a telescope. We go through the specifications and terms that you need to know. We provide you with some tips on where to set up your telescope, and how to set up your telescope. We also cover some safety tips to protect your little one’s eyes, and how to be prepared for any kind of weather or snack craving.
Choosing a Telescope
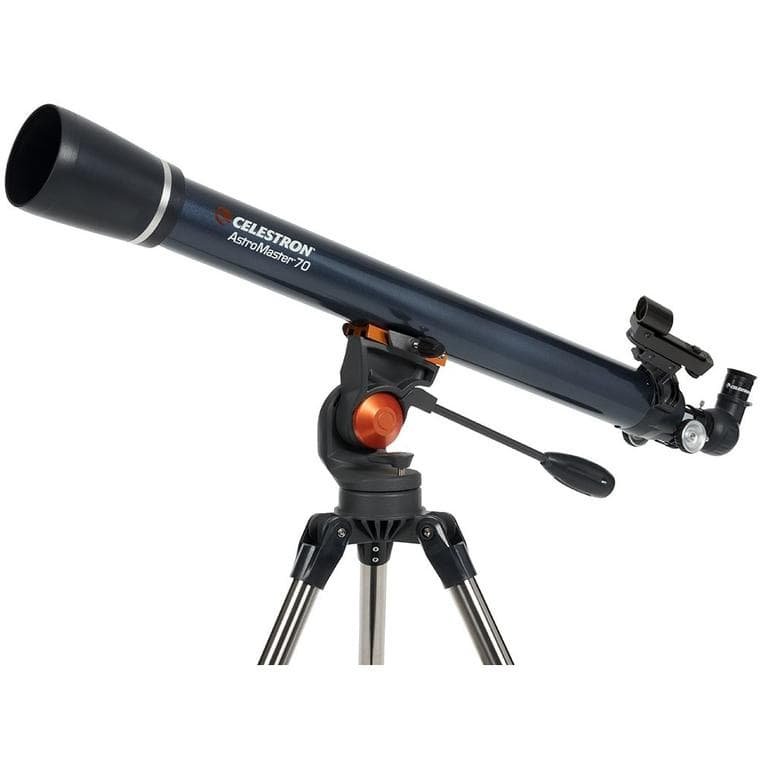
When choosing a telescope for the first time, it can be tempting to go for the one with the biggest magnification. The bigger the magnification, the better, right? Not necessarily. There are a few different aspects to consider when choosing your first telescope. Consider the magnification and the aperture when determining how powerful a telescope you want.
Aperture is a term that refers to the diameter of the lens that allows light into the telescope. The larger the lens, the more light it can gather. The more light a telescope can gather, the brighter and the more detailed the images will be. If you are deciding between two telescopes, one with a larger aperture and the other with more powerful magnification, we would recommend choosing the telescope with the larger aperture.
Most telescopes come with various lenses that you can swap out to use different magnifications in different viewing situations. If you need to, you could always purchase additional lenses if you find the magnification on your telescope insufficient. You can’t modify the aperture.
Another term you’re likely to see when perusing a telescope is focal length and focal ratio (often written as f/ratio). Focal length is the distance between the optic lens of the telescope and the plane where the image comes in to focus. The focal ratio is the length of the telescope divided by the aperture. For example, if your telescope has an aperture of 100 mm and a focal length of 600 mm, the f/ratio would be 6.
This number lets the astronomers know what the view of the sky will look like. A smaller f/ratio will give you a broader view of the sky with less magnification, making it great for looking at clusters of stars. A f/ratio above 10 gives you a higher magnification but a narrower field of vision, which makes it ideal for observing the moon or a particular planet up close.
There are two main types of telescopes: refractors and reflectors. Reflecting telescopes use a smaller secondary mirror to reflect the light and make an image. This type of telescope is best for viewing objects like deep sky objects. Refracting telescopes use a lens to bend the light to form an image and are great for observing nature and some basic stargazing.

Where to Use Your Telescope
If you live near a city or a densely populated suburb, there’s a chance you’re going to have to travel to find an excellent spot to observe the night sky. Light pollution in cities can prevent you from properly viewing the stars. A good viewing spot will have a flat area to set up your telescope far enough from roofs or tree branches that could obscure your view.
If you can’t get out of the city, try and find a place to set up your telescope away from buildings, parking lots, patios, or other wood or cement objects that absorb heat by day. These objects radiate heat back into the night sky and can create air currents that make it harder to see. A backyard away from streetlights is a good choice if you can swing it.
Pay attention to the weather, too – if it’s cloudy, you won’t be able to see the stars and will have to go another night.
Be Prepared
To optimize your viewing experience, come prepared for anything. It can get cold at night, even during the summer, so make sure you dress warmly. It’s much easier to remove a layer than to cut short your viewing session because you’re uncomfortable! Body heat escapes quickly from the head, so a hood or hat is a good idea, as are warm socks.
Hands can be tricky because it’s challenging to operate a telescope when wearing mittens, but a pair of fingerless gloves might come in handy. If you’re out in the summer, consider bug spray as well. If you’re in an area prone to ticks, wear long pants tucked into your socks.
You might be sitting outside for a while, so don’t forget to bring something to sit on. A folding camp chair for everyone in the group is a good idea, as is bringing a few extra blankets. You can put a blanket over your lap for warmth, or if you have kids, they might prefer to sit on a blanket on the ground. Snacks and drinks are another good suggestion. Consider any potential mess and try to stick with snacks that won’t get your hands dirty or sticky, which could get your telescope dirty. A Thermos of tea or hot chocolate is always a welcome addition.

Setting Up the Telescope
There are two main types of telescope mounts, both requiring different techniques. Most beginner telescopes will have manual alt-azimuth mounts, which are pretty straightforward and don’t require additional steps. If you have a manual equatorial mount, you will need to polar align your telescope with the North Star. Check your instruction manual for details on how this is done.
Protecting your Eyes
It’s essential that when you’re observing the night sky, you treat your eyes with as much care as an athlete treats their body or a musician treats their ears. When learning how to use a telescope, you or your child could cause eye damage if your focus is incorrect, or don’t take enough breaks. Most of the time, damage occurs if you strain your eyes too much during an observation session.

Final Thoughts
Astronomy isn’t an instant gratification hobby – you’re going to need a lot of patience for sitting around! If you are a family that doesn’t enjoy sitting around and prefer exploring the area. We recommend you research the differences between a telescope and binoculars to see which tool suits your family the best.
Choosing a date where the astronomical objects you want to see are in an optimal position, finding the perfect spot to view them from, setting up your telescope, waiting for the sky to get dark enough, and then locating the objects themselves can take a while. Be patient, and remember that there’s more to enjoying astronomy than just looking at the night sky.